
SharePoint – Controlling Your Master Page Content using a SharePoint List
If you have ever developed a custom master page for SharePoint, you may have been faced with the challenge of trying to add a content editor web part to a master page. You may have researched this and found that it is possible to add a web part directly into your master page, however you would be unable to edit the web part from the browser rendering the content editor web part useless in this scenario. Fortunately, there is a way you can work around this constraint by using a custom list to control the content that you wish to appear on your master page.
In this post, I will demonstrate how to tie the footer contents of a master page to a SharePoint list using a custom SharePoint solution I developed in Visual Studio 2013. Before creating the solution in Visual Studio, the first step is to determine how the footer should appear and how the list in SharePoint will be configured to control the footer contents.
For this example, I will have a simple 2 column footer with plain text in each column.

To create the column formatting, I used the custom CSS available with Bootstrap. I prefer to use Bootstrap as it provides a great framework that makes web development faster and easier. This is the HTML code used to format the above example:
<div class="row">
    <div class="col-md-6">
        <p>First Column</p>
    </div>
    <div class="col-md-6">
        <p>Second Column</p>
    </div>
</div>
For this HTML snippet, I decided to use a list with a single item and two custom columns to correspond with the two columns of text in footer. Below is a screenshot of the list and item I created:

I set the title column as a required field, and configured the columns for the text as Rich Text, multiple lines of text columns. The reason I use Rich Text over Plain Text or Enhanced Rich Text is to prevent any unintentional HTML formatting that could result from using Enhanced Rich Text, while still allowing basic text formatting and hyperlinks.
After you know how you want to tie everything together in your list, you can begin to build the solution in Visual Studio. For a reference on creating SharePoint solutions, you can refer to this MSDN article.
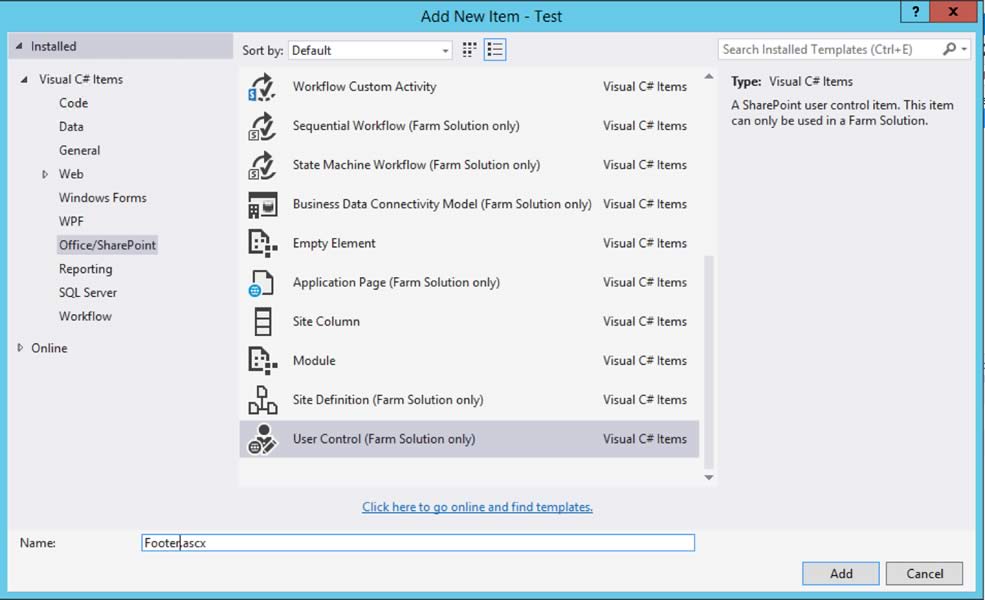
In your SharePoint project, you will need to a create user control for the element in the master page (in this case the footer) that you want to tie to the list. Note that this solution will need to be deployed as a farm solution.
All of the files needed will be automatically created in your project under ControlTemplates. The newly created ControlTemplates folder will be mapped to the SharePoint server _controltemplates folder automagically.

First in your .ascx file, you will need to add an aspx:Literal control at the end of the automatically generated code. Below is what was added for my example:
<asp:Literal ID=”FooterContent” runat=”server” ViewStateMode=”Disabled”></asp:Literal>
This will allow the HTML text you create to be added to the page.
Next, the code to generate the HTML formatting will need to be added to the .ascx.cs file.
To implement this step, you must add the appropriate namespaces. You can view the full list of namespaces I used in the complete source code for this file included at the bottom of this post.
Following the namespaces is a few lines of auto-generated code:

Within the Page_load method, you will need to add the SPSecurity method under which your remaining code will be added:
SPSecurity.RunWithElevatedPrivileges(delegate()
This will insure that the code runs with the necessary permissions to access the list.
The next few lines below are how the list is queried to get the required information.

What is happening in this snippet should be self-explanatory for the most part (if you are experienced with C# and SharePoint). What I really wanted to point out from this snippet though is query string from line 27. To generate the query, I used SharePoint CAML Query Helper. The query I created just looks for all items in the FooterText list where the title field is not empty. This will return the single item I created in my example list.
After getting the list item, all that is remaining is to format the information from the item into HTML. To do this, I used StringWriter in conjunction with HTMLTextWriter.

In line 36, the for loop would be for cases where you may use multiple list items. Also in line 54, I created an output for when no list items are returned for debugging purposes.
Next, you can build and deploy the solution to your site. After it is deployed, you will just need to create an association for the custom control in your master page, then reference the control where you want the content to appear on your master page. If you directly edit the .master file for you master page and are not using the conversion method from HTML, this will just be two lines of code. In my example, you would just need to add the following two lines to create the association and reference the control respectively:
<%@Register TagPrefix="ivision" TagName="Footer" src="~/_controltemplates/15/MPListControl/Footer.ascx" %>

<ivision:Footer Runat="server" ControlId="Footer" />
If you are modifying the HTML file for the master page, you will need to use the Custom ASP.NET Markup snippet from the snippet gallery in the SharePoint Design Manager. Below is the snippet I used for the association:

And the snippet for the reference is as follows:
![]()
One thing to note with the association snippet is that it must be placed within the tag in order for SharePoint to recognize and convert that line to your .master file. As a practice, I add the association snippet just above the snippet of code where I reference the control.
Below is how the code will appear for the footer in my updated .master file:
<div class="row">
    <ivision:Footer Runat="server" ControlId="Footer" />
</div>
And the following is what will now appear in the footer based on the information from the list item:
![]()
Using this solution as a baseline will allow you to create solutions where different elements in your master page can be modified by simply updating an item in a SharePoint list. This will also allow you to give specific users (who may not have the previously required development experience) to easily modify the text in certain areas of your master page.
As you’ve learned in this post, the common problem of having easily modifiable master page content can be resolved by using this solution. At ivision, we encounter challenges that require thoughtful solutions like this every day. Please use the contact us form and learn more about how we can assist you with your collaboration needs.
Footer.ascx.cs Source Code
using System;
using System.ComponentModel;
using System.Diagnostics;
using System.IO;
using System.Reflection;
using System.Runtime.CompilerServices;
using System.Runtime.InteropServices;
using System.Web.UI;
using System.Web.UI.WebControls;
using System.Web.UI.WebControls.WebParts;
using Microsoft.SharePoint;
using Microsoft.SharePoint.Utilities;

namespace MPListControl.ControlTemplates.MPListControl
{
    public partial class Footer : UserControl
    {
        protected void Page_Load(object sender, EventArgs e)
        {
            SPSecurity.RunWithElevatedPrivileges(delegate()
            {
                using (SPSite siteCollection = new SPSite("https://sharepoint-test"))
                {
                    SPWeb rootweb = siteCollection.OpenWeb();
                    SPList list = rootweb.Lists.TryGetList("FooterText");
                    SPQuery q1 = new SPQuery();
                    string query = string.Format("<Where><IsNotNull><FieldRef Name='Title'/></IsNotNull></Where>", rootweb.Title);
                    q1.Query = query;
                    SPListItemCollection items = list.GetItems(q1);

                    StringWriter stringWriter = new StringWriter();
                    using (HtmlTextWriter writer = new HtmlTextWriter(stringWriter))
                    {
                        if (items.Count > 0)
                        {
                            for (int i = 0; i < items.Count; i++)
                            {
                                writer.Write("<div class="col-sm-6">");
                                writer.RenderBeginTag(HtmlTextWriterTag.P);
                                writer.Write(items[i]["Column1Text"]);
                                writer.RenderEndTag();
                                writer.Write("</div>");
                                writer.Write("<div class="col-sm-6">");
                                writer.RenderBeginTag(HtmlTextWriterTag.P);
                                writer.Write(items[i]["Column2Text"]);
                                writer.RenderEndTag();
                                writer.Write("</div>");

                            }
                            FooterContent.Text = stringWriter.ToString();
                        }
                        else
                        {
                            FooterContent.Text = "List is Empty";
                        }
                    }
                }
            }
            );
        }
    }
}


